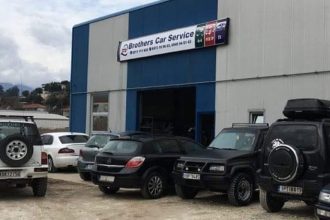

If you’re using your 4×4 the way it’s intended to be used, you probably realise that you’re putting it through a lot of abuse. While most 4x4s are built to withstand the wear that comes with driving them over rough terrain, damage can still occur.
The good news is that there’s a whole market dedicated to ensuring your 4×4 stays intact, especially the parts that are most prone to damage, such as the bonnet and headlights. Plus, there’s a whole other range of products dedicated to improving your comfort while driving in the hellish Australian heat, such as window visors.
These are all 4 x 4 accessories that are affordable, yet can prove to be invaluable not only when driving off the beaten trail, but when driving throughout the urban jungle as well. If you’re unfamiliar with the specifics of window visors, bonnet, and headlight protector products, here’s what you need to know in order to choose the best one for your 4×4.
Window Visors
Window visors, also known as window deflectors are affordable, yet valuable 4 x 4 accessories that are installed to the sides of your vehicle’s window. As a result, your vehicle gets a customised look and you can ride with the windows down without fear of rain or bugs getting through. Plus, they provide extra protection against the sun and they can even benefit your vehicle’s fuel consumption as you won’t have to use your air-con as much.
There are two basic types of window visors based on the way they’re installed – in-channel and externally mounted. They’re generally made using some type of plastic, most commonly acrylic. Most models are also tinted to reduce glare and are made to fit a specific vehicle model and make for seamless installation.
In-Channel Window Visors
These visors use tension and double-sided adhesive tape to stay mounted. Installation is relatively straightforward and the visors won’t come in contact with your vehicle’s paint job, thus preventing accidental damage. On the downside, installing them takes a bit longer and they can pose a problem to vehicles with sensitive power windows.
Externally Mounted Window Visors
These visors are also called stick-on visors. They’re attached to the exterior of the door frame and are stuck with the use of strong adhesive tape. The main benefit of these visors is that they’re very easy to install, affordable and they won’t interfere with the window channels.
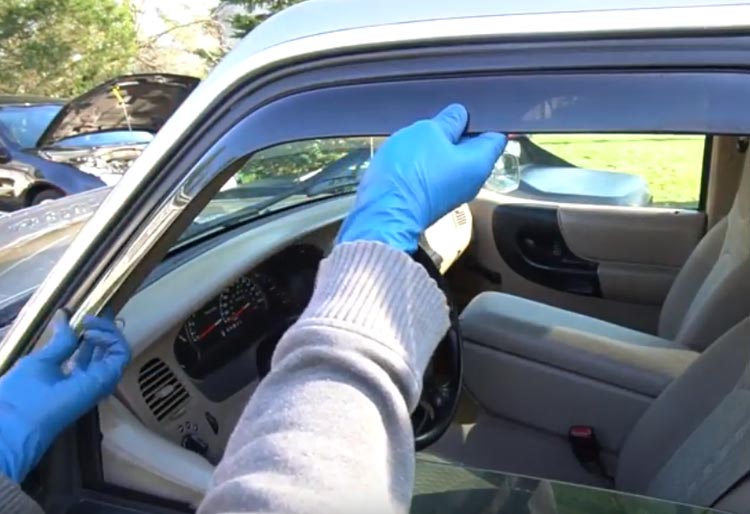
Installing Window Visors
Installing window visors is usually very straightforward. All you have to do is make sure you get the right product for your vehicle in order to ensure a snug fit. Then, thoroughly clean the area where the window visors are to be attached to ensure proper adhesion. Make sure you align and angle the visors well to ensure proper snapping or fastening. Once installation is done, you should clean any residual adhesive to ensure there’s no obstruction to the window and its features.
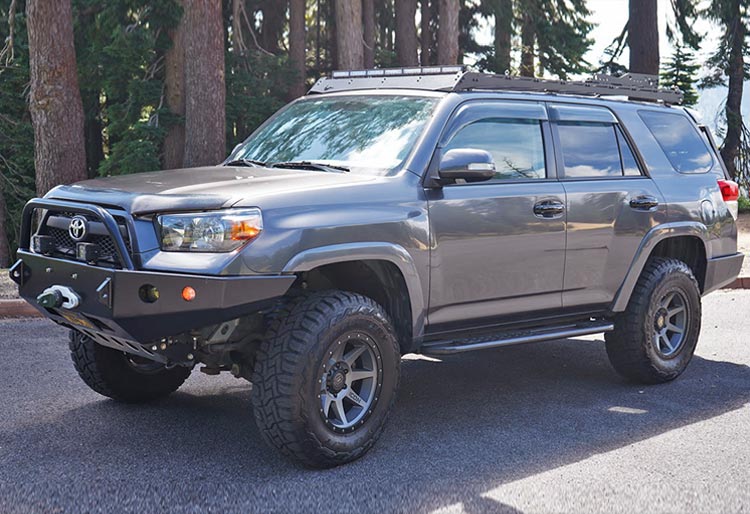
Headlight Protectors

Headlight protectors protect the different types of headlight assemblies from debris, rock, and other airborne objects when driving, plus they prevent oxidation. Additionally, they can enhance your vehicle’s look and add a personal touch to your 4×4. Installing them is relatively easy and it can provide dramatic results.
Most headlight protector products on the market, also known as covers, adhere to the headlight assembly over the lens. Before installing them, you need to make sure you clean your headlights thoroughly in order to get long-lasting and effective results. This can be done by washing them with water and soap, then rinsing them with clean water, and waiting for the headlights to dry off. Once clean, you can install the headlight covers.
Installation is a straightforward process that doesn’t require any tools. You just have to open your bonnet and secure it. Before adhering them to the headlights, make sure the headlight covers you bought are the right fit for your vehicle model, make, and year, and aren’t deformed. Wipe the headlights with alcohol, and check the inside of the cover for any impurities. Then, remove the protective cover on the adhesive side of the cover, align the cover with the lens, and stick it.
Most headlight protectors are manufactured to fit a particular model and make. Avoid trying to install covers meant for another model and make, as they won’t fit right and they won’t adhere well. Caring for headlight protectors is easy – all you have to do is wash them with soap and water.
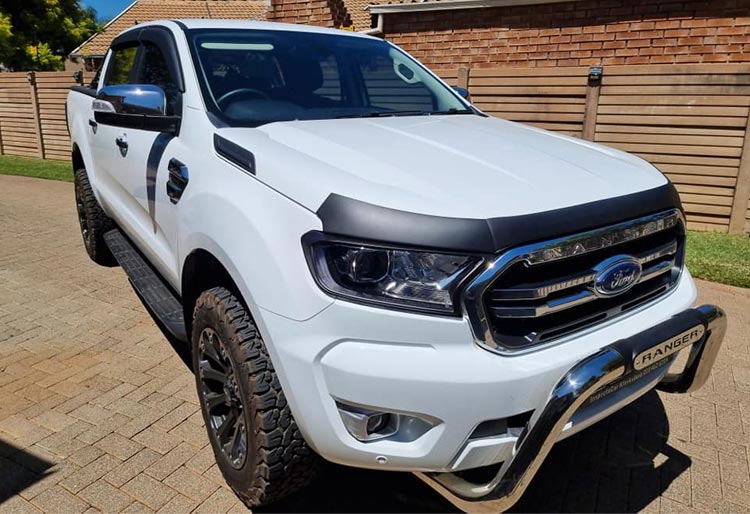
Bonnet Protectors
Bonnet protectors are available in a wide range of shapes and forms. There are two popular types, and they can be either bolted or taped onto your vehicle’s bonnet.
Standard-Profile Bonnet Protectors
Standard-profile bonnet protectors are positioned at a certain angle so it doesn’t affect your aerodynamic approach, yet deflects upcoming airborne debris and bugs. Standard-profile bonnet protectors are positioned away from the bonnet panel, and they’re great at sustaining damage from chirps, stones, and other debris. Most bonnet protectors are made from acrylic plastic.
Low-Profile Bonnet Protectors
These bonnet protectors are positioned close to the bonnet and are known as off-the-hood protectors. As a result, they match the contours of your vehicle, and they don’t look like an aftermarket addition. However, they’re more susceptible to scratches from airborne objects, as most vehicles feature low bonnet lines. Some low-profile bonnet protectors feature a bump-up ridge to improve airflow.
Bolt-on Bonnet Protectors
Bolt-on bonnet protectors require bolts or screws to be attached to the bonnet. This installation process requires some installation and basic tools. There are generally holes on the bonnet protector, as well as a pair of brackets that you’ll need to place under the bonnet. Bolt-on protectors are shaped with a sleeve that goes under the bonnet.
Tape-On Bonnet Protectors
These bonnet protectors feature a double-sided foam tape that fixes them into place. The tape is strong and durable, and more and more bonnet protector manufacturers use them since they don’t require drilling of the bonnet and can stick firmly even if there are irregularities. The installation process is as simple as peeling the protective backing before placing it on your bonnet.